
It’s totally in to dry & press Flowers yourself! Therefore this DIY Drying Flowers is so great!
Full of Tips & Tricks and the cutest and hippest ideas to then process the flowers. Super to apply this DIY Drying Flowers immediately for a beautiful mother’s day gift for example. Of course you can also get to work making the most beautiful creations. Especially now that spring is just around the corner and flowers start blooming again 😉 .
You don’t need much for the DIY Drying Flowers, so you can easily and quickly get started. For everything you do need, you’ll find in this blog all kinds of links where you can shop that 🙂
DIY Flower Drying – Tips, Tricks & Ideas! Super for Mother’s Day 🙂
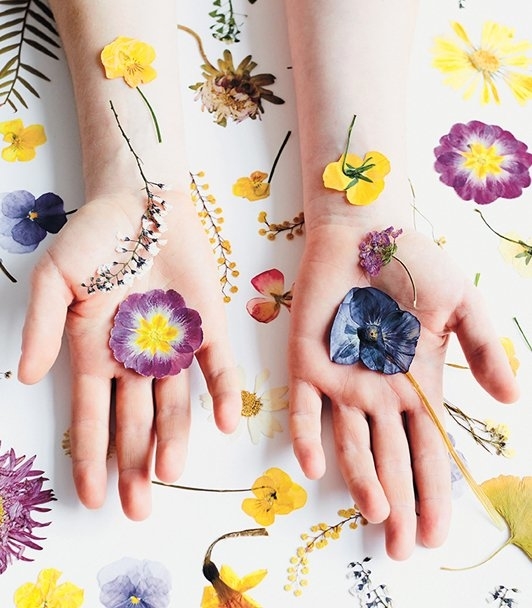
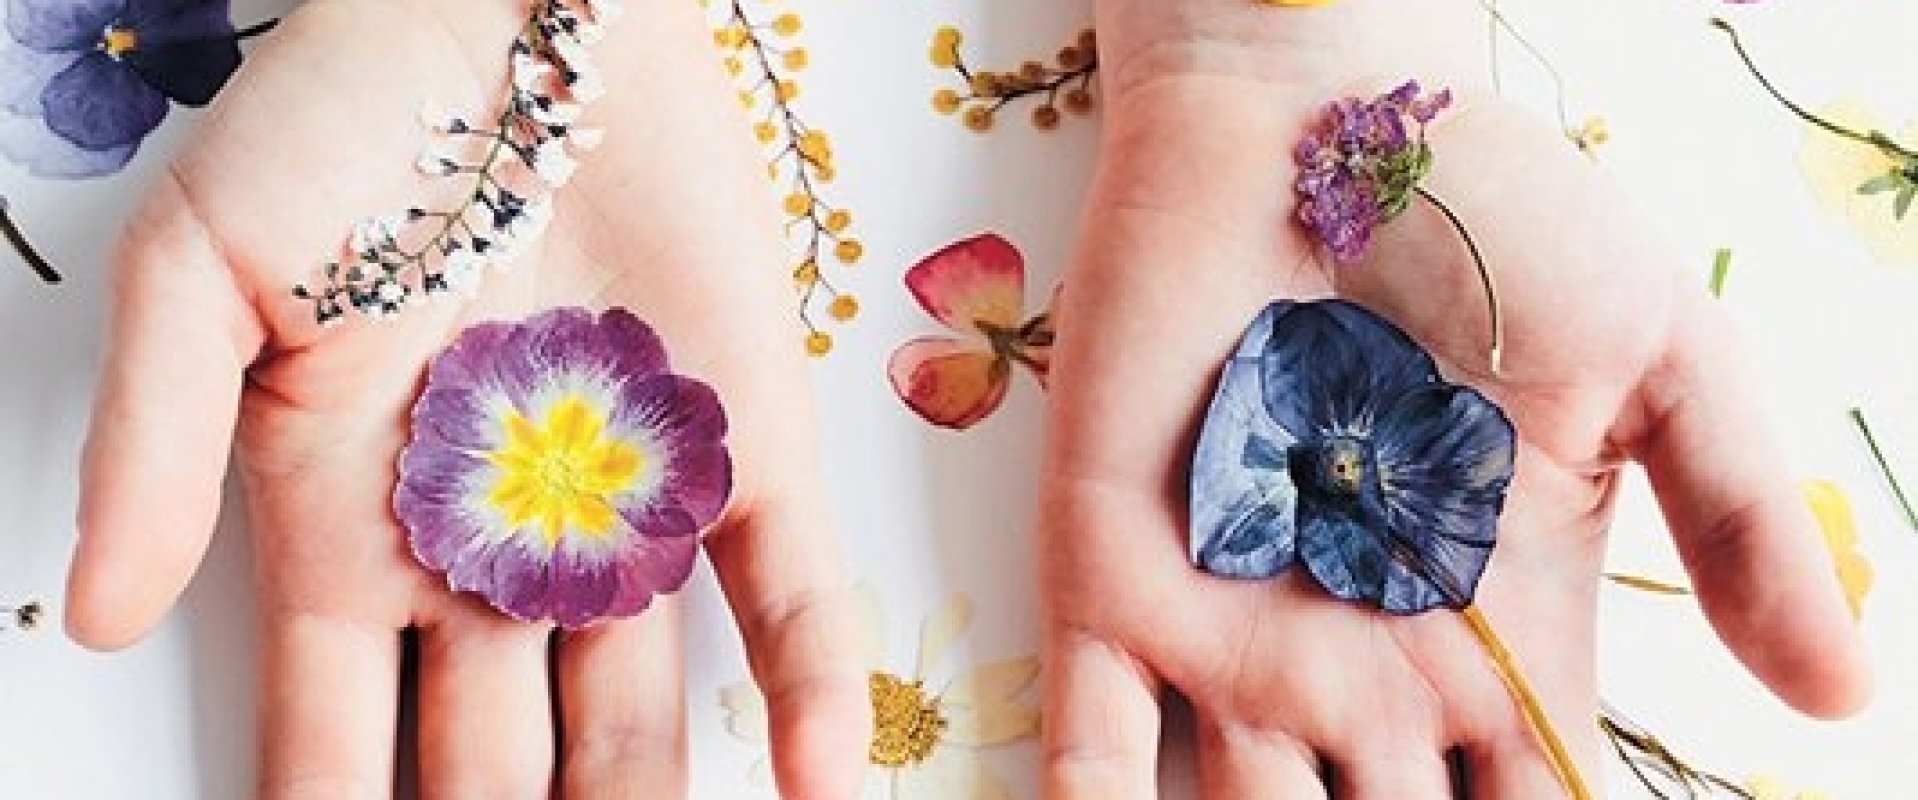
I found this beautiful image on another great blog with tips & tricks. On this blog you will find all kinds of other beautiful DIY’s.
Take a look for inspiration 🙂
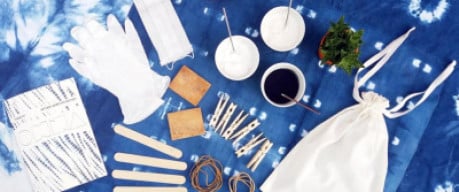
What do you need?
– Inside tip: Flowers!
Now it’s true that some flowers lend themselves better to pressing than others. Flowers with thick stems and lots of juice, for example. Use mostly flowers/leaves with thin leaves like pansies, daisies and those kinds of flowers.
– Depending on the method you use: book/iron/press/microwave.
Tips before you start
– Use fresh flowers. For example, if you are going to pick flowers in the wild, it is best to start pressing them immediately after picking them to minimize color loss. In addition, it is best to use flowers that are just blooming or about to bloom.
– Pick flowers when they are dry. So not when it has just rained or in the early morning when there is still dew on them. If the flowers are too damp, they can easily become moldy.
– If flowers have thick stems it is useful to remove these stems first.
Different Methods
There are different ways to press flowers. Some methods take more time than others (read: especially waiting time is something you have to consider when pressing flowers). Also, one method is easier than the other, but for basically all methods, a child can do the laundry 😉 .
It’s also a lot of fun to experiment with pressing flowers. Because yes, if it doesn’t turn out quite as you had imagined, there is of course no man over board. If you’re going to start, pick or buy all kinds and see what works best.
1. Use an old book
Step 1: Open a book and put a piece (or several layers) of paper in it (baking paper/tissue etc). There is going to be moisture from the flowers anyway and these pieces of extra paper will absorb this moisture instead of the paper of the book itself.
Step 2: Place the flowers neatly on the paper, making sure they do not overlap.
Step 3: Put another layer of paper on top and close the book.
Step 4: Weight the book with heavy objects or other heavy books so that the flowers are pressed flat.
Step 5: After about a week, change the paper for clean paper, weight the book again and leave it like this for a few weeks.

2. Use a flower press
Of course, this method is basically the same as using a book. However, you will need to purchase a flower press.

This beautiful flower press is completely personalized with name. Super nice! Wonderful as a gift to someone (or yourself) to start pressing flowers with a smile.
3. Use an iron.
Use the first 4 steps I described when using the book/flower press. Leave the flowers in here for at least 1 day so they are already well pressed flat.
Remove the flowers from the book, change the paper and iron over them for 10-15 seconds. Note: turn off any steam function! After all, you don’t want moisture to get to the flowers.
Using the iron speeds up the process, so to speak 😉 .
4. Use the microwave
Use the first 3 steps of drying in a book. Make sure that the book you are using does not contain any metals.
Place the book in the microwave and turn on for 30 seconds. Take the book out and flip it open to allow the steam to get out.
When the book has cooled put it back in the microwave for 30 seconds, let it cool and air it out.
Repeat until the flowers are dry (about 4 to 5 times depending on the thickness of the flower).
When using this method, make sure you let the book and flowers cool down thoroughly in between, otherwise the book or flowers may burn 😉
Using the microwave is by far the fastest method to dry and press flowers.
The Most Beautiful Ideas

Of course, framing the pressed, dried flowers is the most familiar idea. And yes, it is obvious why, because it looks beautiful! Make combinations of different flowers to create a bouquet, as it were, or put one type of flower in the spotlight.

You can find these kinds of beautiful double-glass frames in several places.
I have also seen these kind of frames at Ikea! And of course you can always look at Action or stores like Sissy Boy and specialty flower stores.

You can also find beautiful double glass frames in all shapes and sizes on Etsy. Now do you absolutely love this, but don’t see the point of drying flowers yourself?
There are beautiful pressed flower arrangements to be found on Etsy. Like this one for example 😉

https://nl.pinterest.com/pin/725431452465925387/
Of course, you can also use the pressed flowers in other ways than just framing. For example, these beautiful bookmarks with pressed flowers. Use a page from an old book and glue the flowers to it using mod podge. This is a type of glue that both glues and creates a protective layer.

This variation is also super pretty: a bookmark with dried flowers sealed in plastic. If you want to do this, you do need a laminating machine.

Also through the use of mod podge. This cute tea light holder with pressed flowers.
Use a jar and decorate it with pretty flowers, like here forget-me-nots 🙂

Buy a transparent phone case and decorate it on the inside with pressed flowers. Super nice effect this phone case with dried flowers!
You guessed it, you can also do this by using mod podge.

Here you see a Bloomon Flowergram. A little different than pressing flowers, but oh so beautiful and hip! You can go all sorts of ways with dried flowers too. Buy a Flowergram or read this Bloomon Blog about drying flowers (without pressing 😉 ).

You can also make beautiful bouquets with dried flowers. As you can see here, the flowers are secured in a piece of clay and then under a bell jar to keep them beautiful for as long as possible. In the Bloomon Blog on drying flowers, you can read which flowers are best to use.

This might be for the more advanced flower dryer 😉 .
Beautiful embroidery hoops with embroidered dried flowers! Who knows, we may post a DIY soon on how to do this, because it looks really beautiful!!!
Here you use tulle that you stretch in an embroidery hoop, then you stitch the dried flowers on it.
The fact that flowers are extremely versatile is nothing new, of course. But still more is possible than you might think, especially when you dry or press them.
Another great thing is that they will put a smile on your face anyway. Because say it yourself, who doesn’t get happy with the colorfulness of the most beautiful flowers 🙂
Of course, as always, I am super curious about your results & ideas! What are you going to make with dried or pressed flowers? Have you been doing this for a while, or are you going to give it a try for the first time? Let us know in the comments below or share them with us on instagram with #beadsandbasics. We love it 😀 !!!
Lots of creating fun!
Love,
Matilde


Lisa Hofeling
op 03 Feb 2025