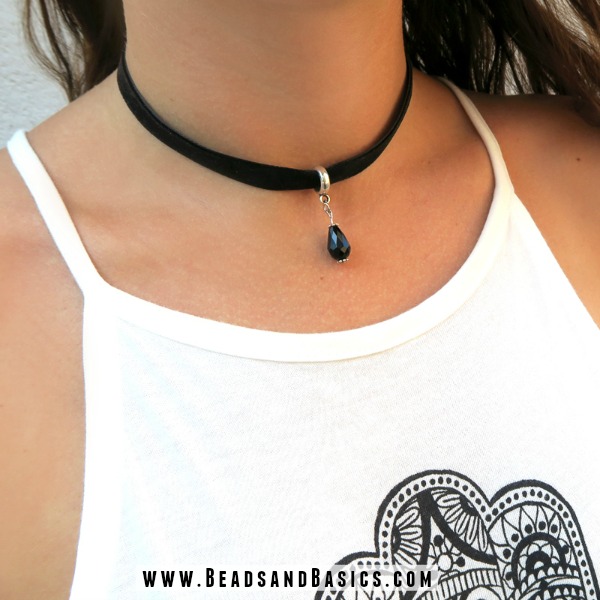
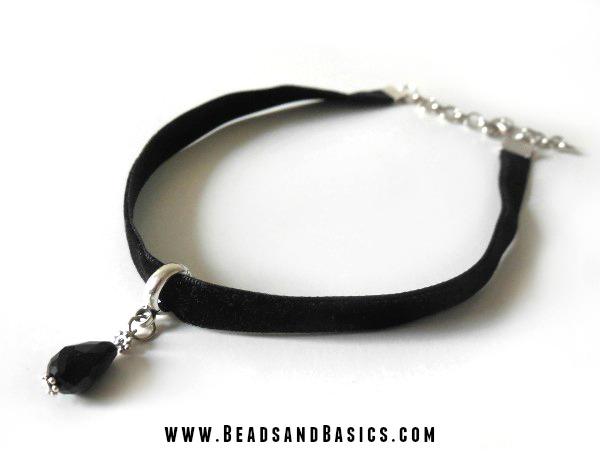
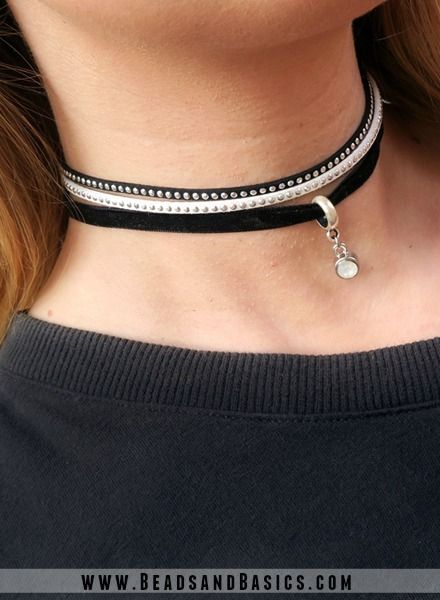
Make your own choker necklace with this easy step by step tutorial. The choker is a trendy item you don’t want to miss out on.
What do you need?
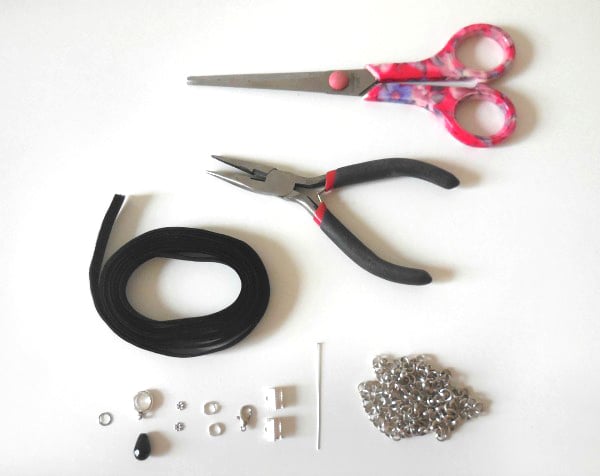
To Make your own choker necklace you will need:
For the charm you will need:
You will also need flat pliers and a pair of scissors
Step by step DIY tutorial
1. Measure the velvet to your size, you can decide the length by measuring the extent of your neck.
I used 27 cm, later you will add a piece of chain so keep that in mind.
2. Thread the ‘bead with an eye’ on the velvet.
3. Put the velvet inbetween the endcap, squeeze it tight with a flat plier. Do this on both sides.
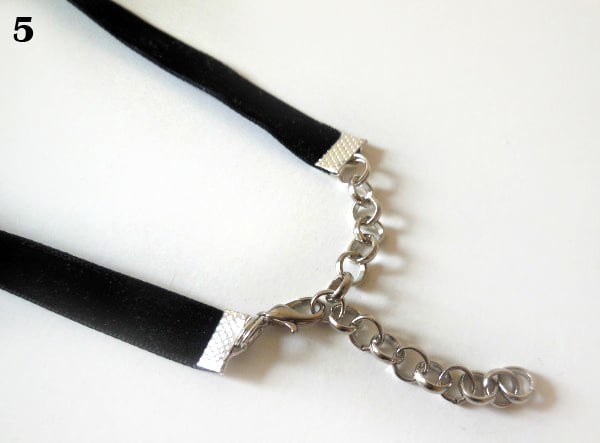
4. Open the double loop ring wit a plier, and slide the lobster clasp on. On the other side you will only need a double loop ring.
5. Fix a piece of chain on to your double loop ring, this will serve to adjust the choker to the desired length.
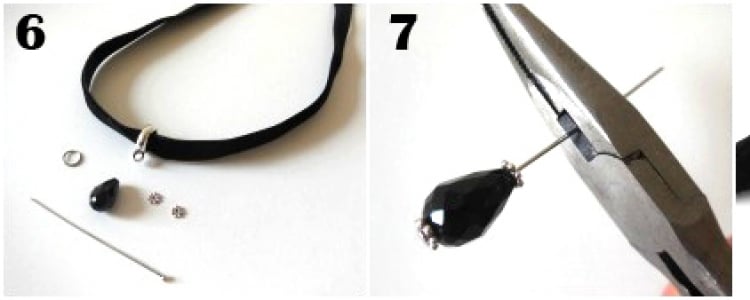
6. Gather the materials you need for the charm of your choker, a drop bead, headpin, spacer beads and a 4mm jumpring.
7. Put onto your headpin: a spacer bead, a drop bead and another spacer bead. Cut the headpin to about 1cm from your beads and bend this round your pliers to make an eye.
8. Use a 4mm jumpring to fix your headpin to the eye of your ‘charm with eye’ that is already on the velvet.
And that is you choker necklace finished!
Design Tip: We sell the velvet ribbon by 2 meters, this is enough to make 7 (!) chokers if you stick to 27/28cm length.
Click here for all the materials for this choker
More choker necklace design you can make yourself
Click here for the materials for this choker
Click here for the materials for this black and white choker
Wat vind jij van de choker trend?
Zou jij een choker ketting dragen?
XX Nathalie
