
Macramé is really much easier than it looks. To get you started in the first steps of the macramé world, we made this Macrame beginners blog with macramé basic knots. With these basic knots you can actually follow all the patterns that can be found on the internet, handy right!
To start a macramé project you don’t need much more than yarn, which can be thick or thin. If you work with thicker yarn, you will be on your way very quickly, with thinner yarn a large project will take longer. When doing this, choose what suits your project, but more on that later 🙂
Macramé is an old-fashioned technique, which is now totally hip again! Plant hangers, wall hangings, dream catchers you name it, macramé is a very versatile technique. So it’s great fun to start your first macramé project and before you know it you’ll be a macramé master!
Macramé for Beginners: Macramé Basic Knots + Tips & Tricks
How to choose the right yarn?
Macramé yarn is more rigid than, say, crochet or knitting yarn, and in addition it is often made differently. Where crochet and knitting yarns are often a strand of loose yarn, macramé yarn is woven or knotted together. It looks much more like rope or in some cases is even rope: yes, you can start a macramé project with rope.
When choosing the right macramé yarn, it’s mainly about the look of your project. Do you want to knot a sturdy plant pendant? Then choose a chunkier yarn, perhaps ropey or cord. Are you going to make a bracelet with the macramé technique? Then choose thin yarn.

With this yarn you can clearly see that it is woven together. This gives a project a somewhat tougher look. This yarn is a bit in between: not thin, not thick, about 2mm. This is a good macramé yarn to start your first project with, which you could also use to crochet!

This thick macramé cord is twisted together like rope and 6mm thick. This gives your project a super tough and robust look!

In addition to the commonly used natural cord, macramé cord is available in all the colors of the rainbow. This is our favorite Etsy shop with beautiful colors of macramé cord in 4mm and 6mm.

Another fun variation is t-shirt yarn. A yarn made from recycled t-shirts!

In this blog, I used ByClaire Chunky Cotton Yarn myself. This yarn is soft and fairly thick making it great for both crochet projects and macramé.

In our shop you can find thin macramé yarn with a nice shine. You use this yarn mainly for jewelry 🙂
Then, once you’ve chosen your yarn to suit your project, you can start knotting!
Macramé basic knots
There are 5 different macramé basic knots. That is not very much at all, because often within a macramé project small variations and combinations arise. In addition, some knots are a simplified version of another knot.
Larks Head Knot
This is the knot you will start just about every macramé project with. Especially when you make a wall hanging.

Place the thread in a loop (on half of the thread, of course) under whatever you want to start your project on. For a wall pendant, this is often a branch or a ring, but you can also do this with a keychain, for example.

Pull the loop over the ring.

Pull the middle 2 threads through the loop.

Pull on and you’re good to go! The Larks Head Knot is ready.
This knot is used in many macramé projects, even with only this knot you can achieve beautiful results as you can see below.

This wall pendant, for example, is made with different yarns attached to a wooden rod with a lark head knot. Alternating colors and lengths make it a simple but beautiful piece.

This wall pendant is made with the same larks head knot technique but in a completely different style. Interspersed with knots and braids, you can easily create your own master piece with vintage look.

Here yarns are cut at different lengths creating this effect, attached with the larks head knot in a ring.

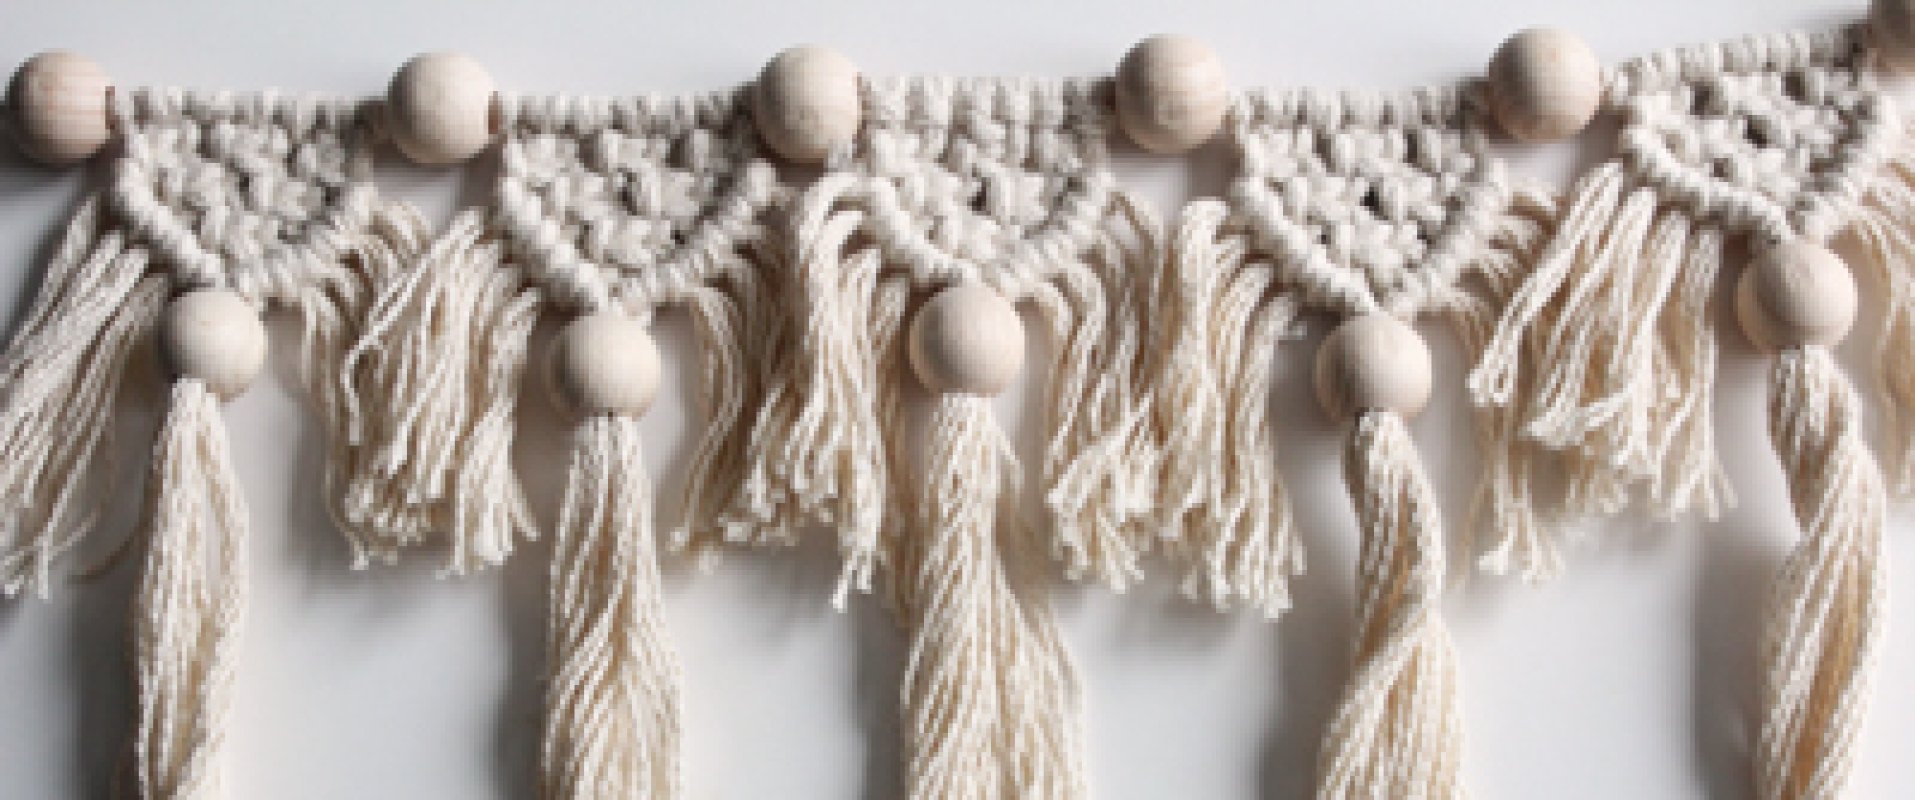
It is also nice to combine this knot and yarn with tassels, feathers, pompoms and beautiful beads. You can actually make a thousand and one combinations with this knot alone!
Square Knot
The square knot is also used in many macramé projects. In one or more threads, this knot gives a complicated look while it is actually very simple.

Make 2 lark heads knots. So in total you have 4 threads, working only with the outer 2 threads.

Pass the left thread over the 2 middle threads and under the right thread.

Pass the right-hand thread under the two middle thread and pull it through the loop.

Pull on. You are now at the halfway point of the square knot.

Pass the right hand thread over the 2 middle thread and under the left hand thread.

Pass the left thread under the two middle threads and pull it through the loop.

Pull and your first square knot is made! If you want to work further, start again at the top of this step-by-step list!

And then when you do, this is the result after a few knots.
Square Knot Variation
If you work with several threads, you immediately get a nice knotted wider piece. Below you can see how to do that.

Make 4 larks head knots, so you have eight threads. When increasing this knot you work with the table of 2, so always 2,4,6,8,10 etc. So never with an odd number.

Make a square knot with the outer 4 threads on the left and on the right.

Next, a square knot with the middle 4 threads. To continue, repeat this rhythm: 2 knots with the 4 outer threads, 1 knot with the middle 4 threads etc. etc.

This is the result after a few knots.
Half Hitch
This is one of the easiest basic macramé knots! With this knot you can easily create diagonal lines in your macramé work.

Start with 1 larks head knot.

Lay the left-hand thread over the right-hand thread in a kind of 4 shape.

Pass through the loop and pull. This is already the half hitch! If you repeat this one more time, you will have another knot, the double half hitch. I use that one below.
Working with the Double Half Hitch

Start with 3 larks head knots.

Lay the leftmost thread diagonally across the rest of the threads.

Lay the second thread from the left in a sort of U-form over the other threads as you see in the picture.

Pass the thread through the loop. Pull and repeat the same steps again for a double half hitch. You can just leave the diagonal thread in place.


When you finish the first double half hitch go to work with the next thread, still on the same diagonal thread. Make another double half hitch and go on to the next one again, until you reach the end of all the threads.

This is the result. Then you can go the other way again, lay the rightmost thread diagonally over the other threads and start knotting again.

When you do that you get a zig-zag pattern.
Spiral Knot
You already know the spiral knot, because it’s just a half square knot. Below we show it to you.

Start again with 2 larks head knots.

Pass the left thread over the 2 middle threads and under the right thread.

Pass the right-hand thread under the two middle threads and pull it through the loop.

Tighten the knot and start again at the first step. If you were making a square knot, you would now pull the right-hand thread over the middle threads, etc. etc. For a spiral knot you do not do that, but just continue with the left thread. Repeat this over and over again and a spiral will form.

This is what you will get. You can also make a spiral like this with the half hitch, by repeating it over and over, also then there will be a twist in your work.
Those were all the basic macramé knots, it’s fun to practice these knots and make a keychain right away! Buy some different thicknesses and types of yarn and cord and just try it out. You can just shop the first basics at Beads & Basics:
– Keychain
– Macramé cord
The key ring already contains a base on which you can make your larks head knot, real handy !

Fun Macramé Projects
How to use these macramé knots in a project? Of course you have to practice first but eventually you will make beautiful interior items like these:

Once you become more proficient with the macramé technique, you can make such a beautiful pillow, for example. Does that take too long? You can also buy this macramé pillow ‘ready to go’

At the moment you can find a lot of these macramé feathers. They are made with square knots and combed out yarn, so a super good beginner project. If you want to make this, choose a yarn that is not completely twisted, knotted or woven!

This wall pendant uses the half hitch and the spiral knot. Again, this looks super complicated, but when you think about it, it’s actually not that bad.

If you really get the hang of it you might try a mandala wall pendant.

You can, of course, use these knots to make macramé jewelry. Don’t be put off by the complicated works of art you see online. Even with a ‘smaller’ design you can make beautiful bracelets, earrings and necklaces. For jewelry, use thin macramé thread of 1mm or 0.5mm (especially if you use beads). Linhasita macramé cord keeps its color and is most often used for these types of projects.

And of course the plant hanger! At the moment perhaps the best known product with the macramé technique, also here are many different variations possible!

Check out many more creative macramé patterns here! Do you want to try macramé? We hope that with this blog we have been able to show you that macramé does not have to be difficult at all. We hope you will all practice these basic macramé knots! If you do and you are proud of the result, please share photos with us! You can easily do that by mail or via instagram with #beadsandbasics , exciting!
Have fun learning this new technique! You can do it!
Greetings,
Matilde