
If you’re on Pinterest, you’ll soon come across them: the Macramé Feather. With this DIY Macramé Feather you can make such a feather in no time. You can make one and use it as decoration on the wall or on a bag. If you make more than one, you quickly have a real eye-catcher in your home. You can make this DIY Macramé Feather in any color you want, so it will fit in almost any interior.
You use 1 basic knot and then comb the yarn, giving you a beautiful full feather. Totally on trend and perfectly suited to the boho style.
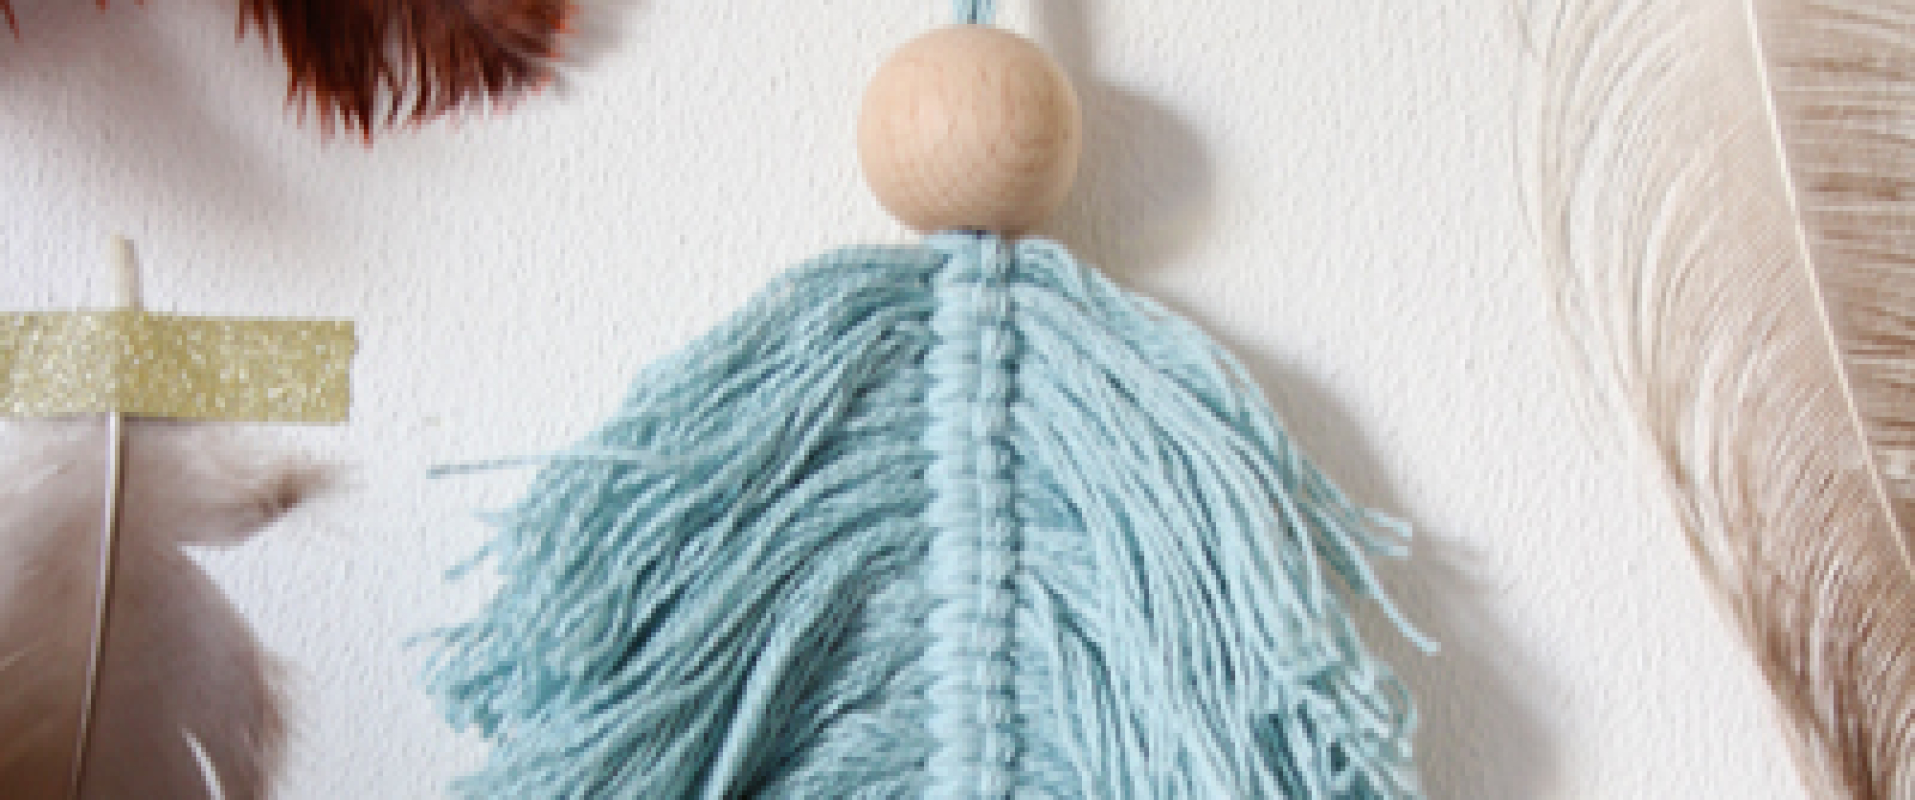
DIY Macramé Feather. Super Easy and Fantastic as Decoration

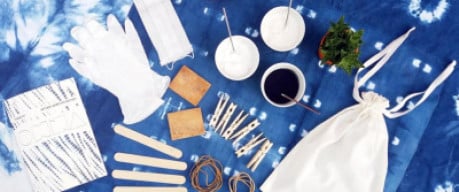
Supplies:
– Macramé yarn (I used Chunky Cotton IceBlue for this DIY By Claire. You can find similar yarn here)
– A comb to give it a real feathery look
– A good pair of sharp scissors
– Possibly a large wooden bead
Work description DIY Macramé Feather:

For the base of the feather you cut a piece of cord of 60 cm. For the rest of the feather, the hairs in fact, you cut pieces of 20 cm each. Fold them in the middle as shown in the picture.

Place the first short cord under the long cord.

Put the next short cord over the long cord.

Put the ends through the loops. As you see in the picture.

Pull firmly, holding both cord ends firmly so that they remain approximately equal.

Make another knot with the bottom two strings. That way, the contents won’t slip off the spring in a moment 😉 .

This was the starting point. Now you are going to do the same thing, tie on 20 cm strings each time. The first one below, the next one above, pull it through the loops and tighten it. Just before you tighten the knot completely, push the knot well on top of your previous knot.

After a few cords, this is your result.

There are going to be quite a few strings. So take this into account. If you want a larger or a smaller feather, adjust the size of cords accordingly. Continue knotting until you find the feather large enough. You are left with a loop to hang the feather with.

Next, you’re going to comb out the yarn, this will make the feather look even more like a real feather and give it a lot of volume. I found it most convenient to do that on a table, at least that way you don’t pull the yarn to pieces 😉 .


I think the result is really super! Do you too?
Other ideas with the DIY Macramé Feather

This DIY macramé feather lends itself to all sorts of uses. For example, these dreamcatchers with feathers are beautiful. Another great tip is to use different colors in 1 feather!

In addition, you can adjust the size of the feather very easily. Which makes this feather also lend itself very well as a keychain, for example 🙂

Because it’s so easy, you can also quickly create a statement piece like this huge wall pendant with feathers. Wonderful for the bedroom, for example!

This DIY Macramé Feather also works well with different materials, thick cotton works great, but the result with a thinner burlap is also beautiful.

Check out many more creative macramé patterns here!
For this feather you only use 1 knot, a variation on the larks head knot. If you want to know more about macramé and what you can do with it, take a look at the blog we wrote earlier with macramé tips for beginners, this will make you a real macramé master!
I love these macramé feathers. They are done really quickly so a huge wallhanging is also a piece of cake! How are you going to apply this DIY macramé feather? On a bag, on the wall or rather a big statement piece? I would know: a super big wall hanger as the headboard of my bed 😉 .
As always we are very curious about your results and ideas, so let us see them and let us know via the comments below, via email or via instagram with #beadsandbasics 😀 😀 We are curious!!!
Lots of Making Fun!
Love,
Matilde


DIY Macrame Feather Ideas That You Can Make Today! 100%
op 19 Oct 2021