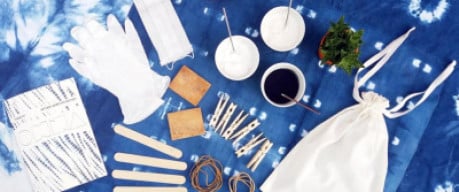
In this blog DIY Tassels we show you how to easily make your own tassels and we also give you 10 cool ideas what you can do with them! What’s super fun is the fact that you can make tassels from many different materials. Think of cotton, embroidery thread, rope, but also miyuki seed beads (which is a lot of work, by the way, so that’s not in this blog 😉 )! You can make the tassels as big or small as you want and in this way they become usable for all kinds of purposes. In jewelry of course, but also as decoration at home.
Another great thing is that you can use leftovers when making tassels, so do you have a pile of short ribbons? Turn them into a tassel! Have a few miyuki beads left? Turn them into a tassel! In short, get busy and make beautiful, cheerful, colorful tassels with the prettiest materials 😉
DIY Tassel Making + 10 Cool Ideas with Tassels
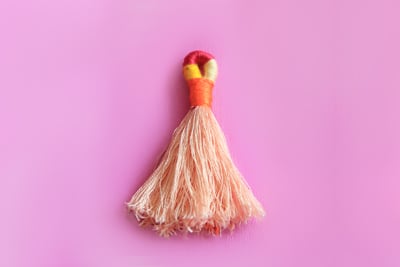
DIY Tassel making: 5 different tassels
To show you what effect different materials have, in this blog I made 5 different tassels. 1 from embroidery thread, 1 from crochet cotton, 1 from macramé thread, 1 from suede lace and 1 from cord. On those materials I applied different techniques that you can use to make a tassel. Choose which tassel you like the most or make them all 😉 .
To make the tassels you will need at least a pair of scissors.
Tassel Crochet Cotton (you can apply this technique to all types of tassels and materials)
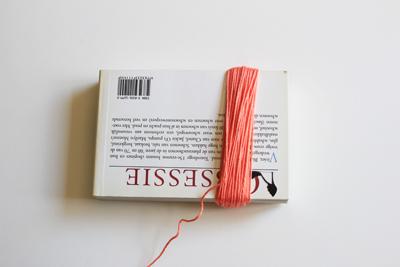
The most common method of making tassels is this. Wrap quite a bit of yarn around a book or a piece of cardboard. The size of the book or cardboard, also determines the length of the tassel, so determine here what result you want 😉
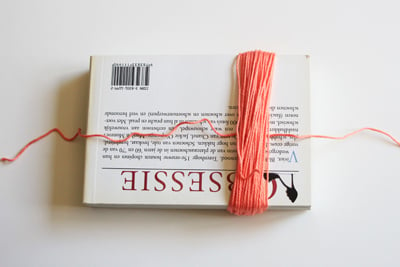
When the tassel is thick enough, pull a piece of yarn under the wrapped yarn as shown on the picture. Keep this piece of yarn long so that you can either tuck it away in the tassel or use it as a loop to hang the tassel with.
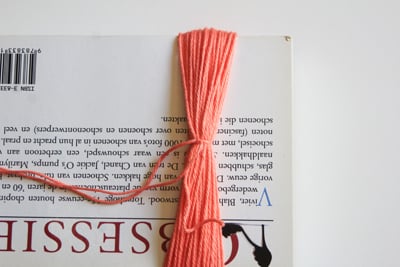
Put a knot in it and pull it very tight.
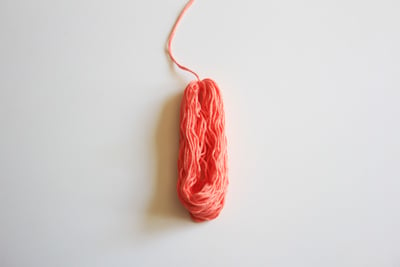
Then slide the yarn off the book or cardboard.
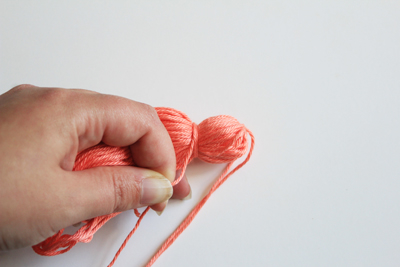
Then wrap the yarn around it to create a nice ball. You can make the ball even ‘rounder’ by, for example, putting a wooden bead underneath it and then wrapping yarn around it.
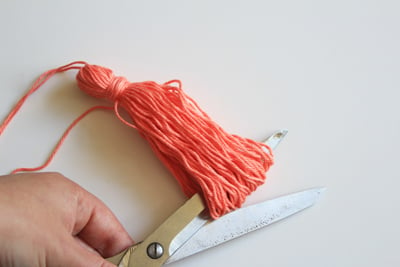
Make a knot and, again, leave the ends long enough to fall away into the tassel. Then cut the ends (put the scissors through all the loops).
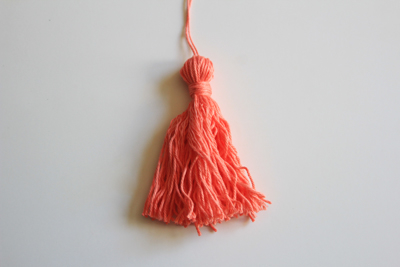
Cut the brush a little straighter and it’s done!
Tassel with Loop of Cord
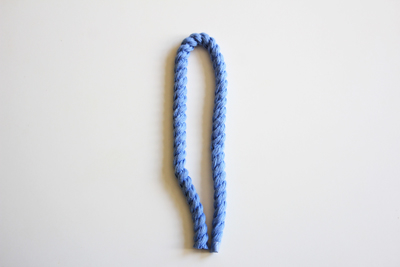
You can make a different kind of model tassel with this technique. Always use thick cord or rope for this, which you will comb out later. Be careful when buying the cord or rope, it must be the same material through and through! There are also ropes and cords that have an inner core of another material, you often see this with satin cord (which doesn’t work very well anyway because it’s almost impossible to comb out 😉 )
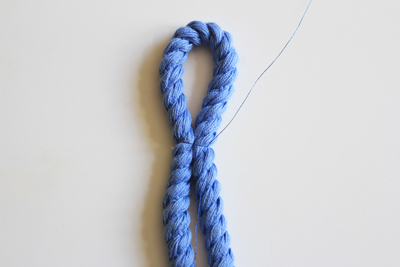
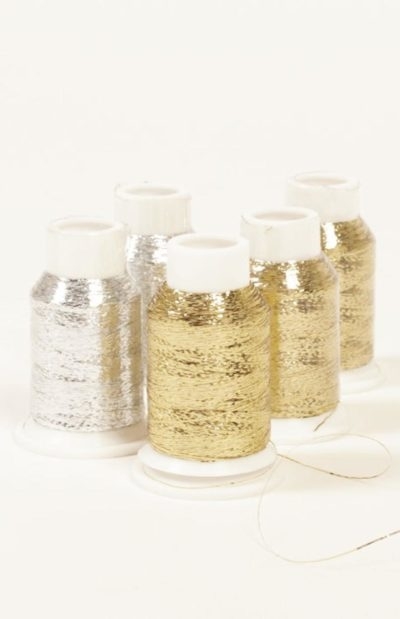
Choose a nice yarn to wrap around. Put a loop in the cord, wrap the yarn around it and tie a firm knot again. I used metallic yarn, which is usually not very strong, so pay attention to that 😉 .
For example, this is a fun glitter yarn to use 😉
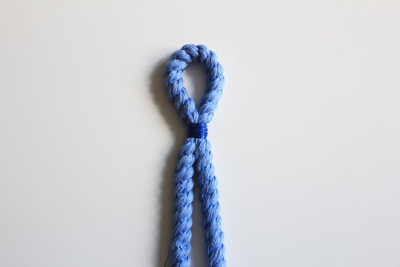
Wrap the cord this way, tie another knot, and again leave the wire end as long as the tassel will be.
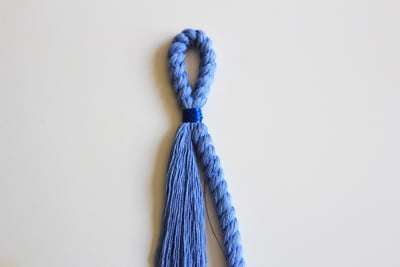
Comb out one half first and then the other.
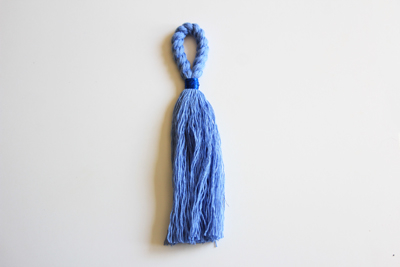
Cut to size and done!
Tassel with Loop of Embroidery Thread
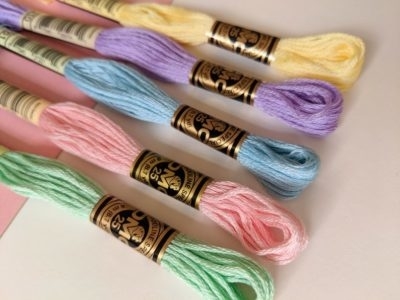
Always use high quality embroidery thread, preferably DMC Embroidery Thread, for this type of tassel. This is on bobbins that you leave assembled like this for this technique in the first steps as well.
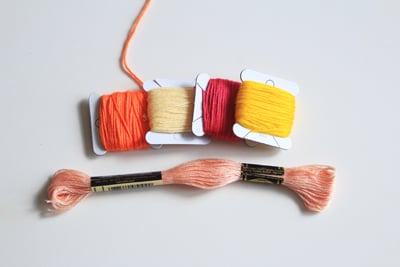
Choose a color combination, the bobbin still assembled will be the tassel, the other embroidery thread will be used to wrap around.
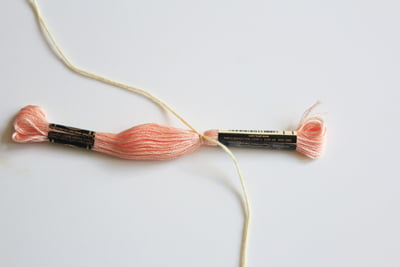
Wrap and tie a knot first and then start wrapping (neatly always thread by thread side by side and tightly). You do not start in the middle, but just a little bit off center.
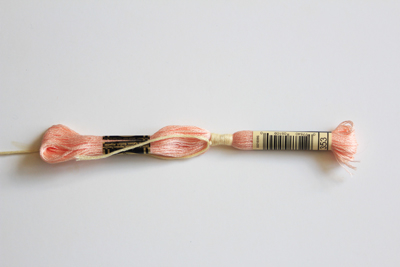
Continue like this for a while with the first color (you can decide how long).
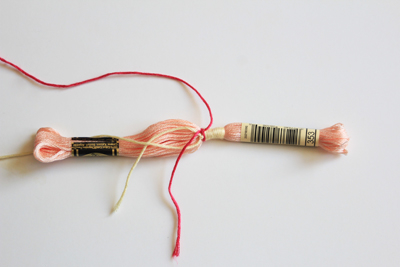
Tie on the next color and begin wrapping, wrapping the ends of the other color under the new color.
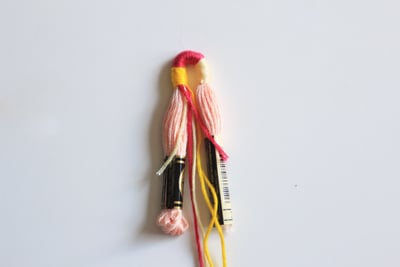
I used 3 colors here, but how many colors and what colors you use is totally up to you! Bend into a loop (probably will be a little tricky).
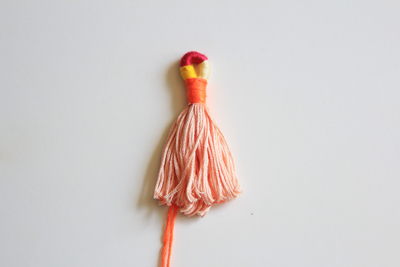
Then wrap the two groups of yarn together with yet another color of yarn. Leave the ends long enough to work their way back into the tassel. You can cut off the other ends (in this case of white, pink and yellow) because they are stuck in the rest of the wrapped yarn.
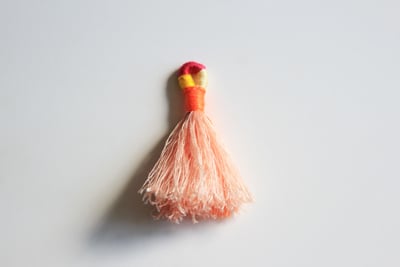
Comb out and cut neatly. Nice brush huh!
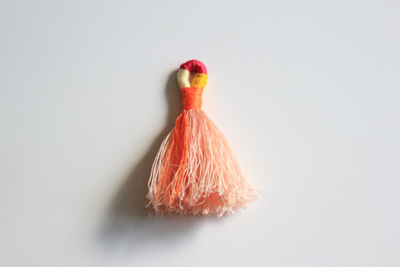
You comb the ends of the orange thread as well, and the result is this. I like the orange stripe running through the tassel 😉 .
Suede & Macramé Tassel
For these tassels, I used the first technique (wrapping around a book). It works exactly the same 😉
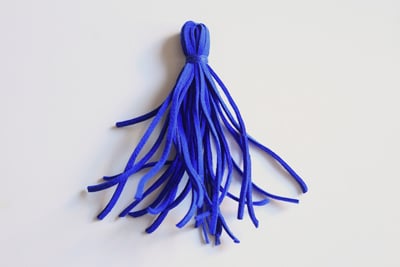
But gives a very different result. I wrapped the suede with a same color embroidery thread. Shop your favorite color of suede lace at Beads & Basics 😉
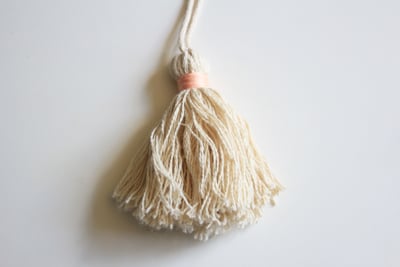
With, for example, ByClaire Chunky Cotton (or other Chunky Cotton yarn) you can make a nice big and thick tassel. Tied with the same macramé thread, wrapped with a different color embroidery thread and then combed out (which does give a fluffy mess by the way 😉 )
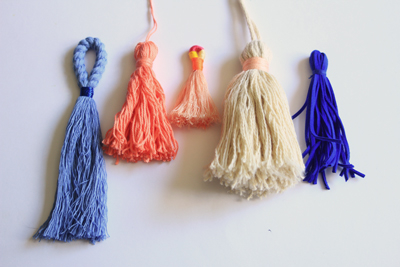
Five totally different tassels, with different materials. Of course, there can be infinite variations 😉 I made quite large tassels (with the exception of the ones made of embroidery thread) but of course, you can also make these other tassels (except for the chunky cotton ones) smaller.
DIY Tassels: 10 great ideas with Tassels
With these tassels you can then do all sorts of cool things. Of course make jewelry, but there are also other great ideas. We chose the 10 best ideas of the moment.

FUN!!! Finish a pair of pants with cute tassels at the bottom of the trouser legs. You can achieve this result very well with these small tassels and then in different colors.
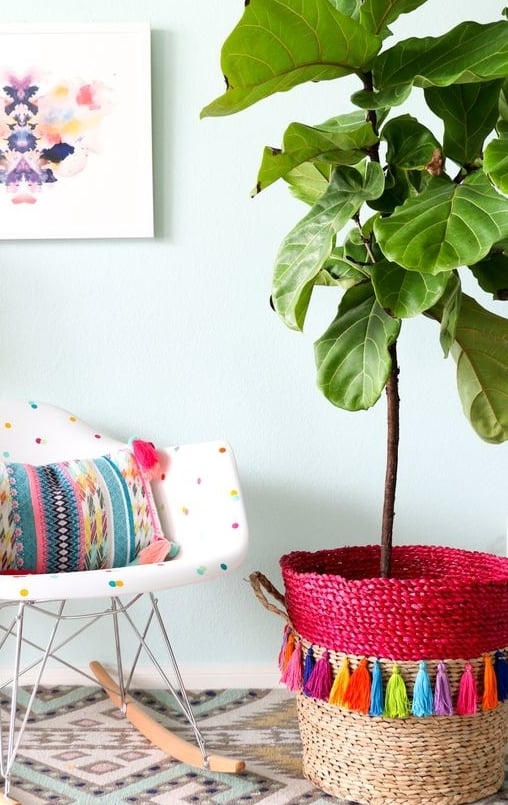
Also very fun and colorful, a tassel garland made around a basket! Again, you can use the small tassels for this, or you can make all tassels from cord or embroidery thread, for example 😉 .
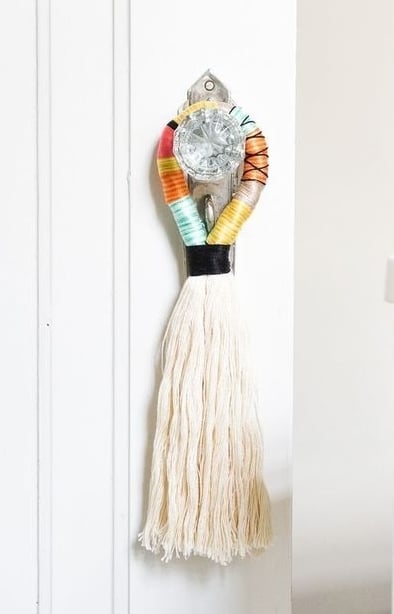
This tassel of cord is beautiful to use as decoration in the home. For example, on a closet door as a pendant! Here they used the same technique as I did with the embroidery thread. Beautiful, isn’t it!
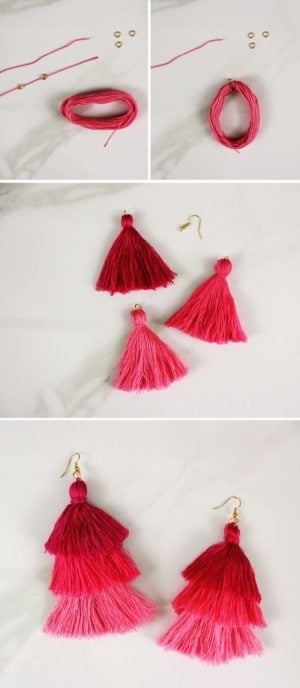
These stacked tassels are a fun use for earrings. Again, the easiest way to make these is with ready-made small tassels.
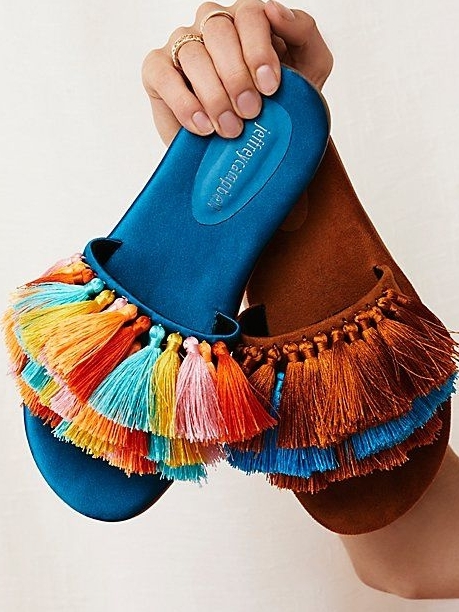
Fun idea for this summer! Pimp your slippers with tassels!!!
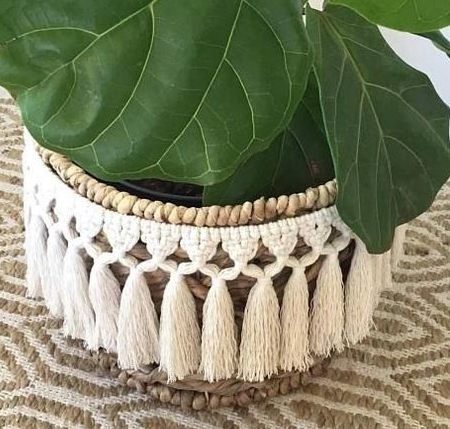
Or pimp a basket with a macramé garland with tassels. Use for example this great blog macramé flagline where we teach you step by step how to make such a garland.
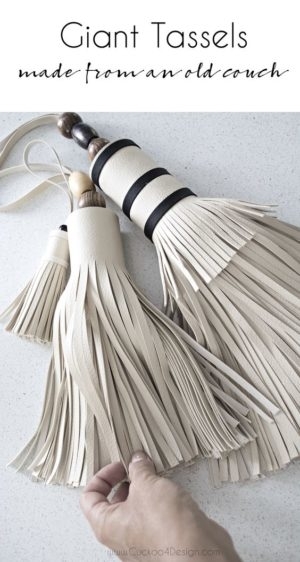
Old couch or chair in the house that you can’t do anything with? Use the upholstery to make a mega tassel!
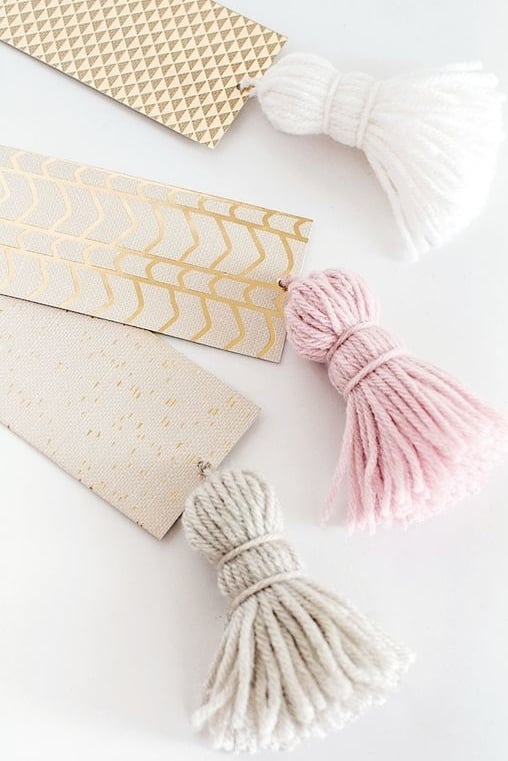
Do you like to lose yourself in a beautiful book? Then make your reading experience even more fun with these fun tassel bookmarks. They are best made with crochet cotton. Also great for your diary!
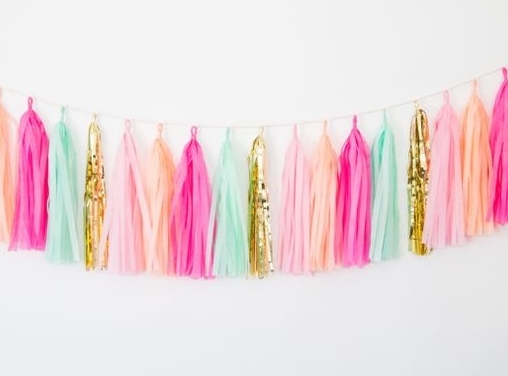
You’ve probably seen this one before, but no less fun, this tassel garland! These are made of paper, tips & tricks can be found on pinterest if you search for ‘paper tassels’.
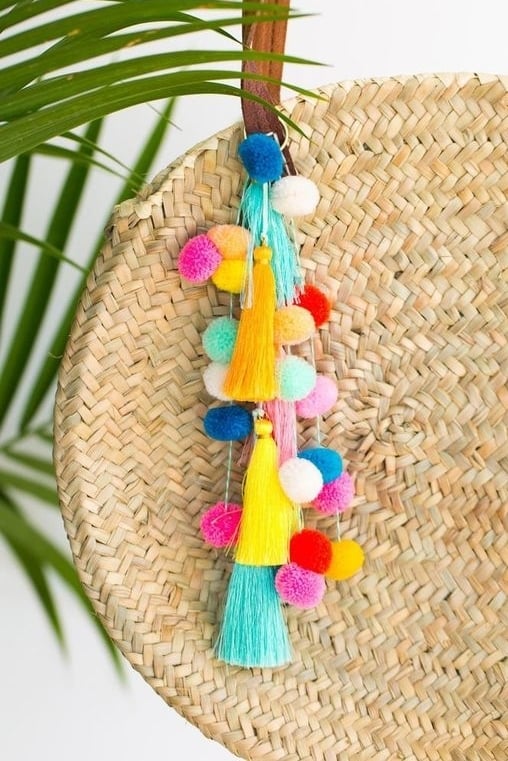
And of course, tassels are perfect for making a bag pendant with! This way you can actually pimp all kinds of garments and accessories 😉 .
So plenty of ideas with these cute tassels! And as you can see they are also very easy to make yourself 🙂 Super nice of course! What material is your favorite? And what do you use tassels for the most? Show us your favorite tassel creation by mail or via instagram with #beadsandbasics. We love it & we get new ideas from it too 😉 😀 !
Lots of make & DIY fun!!!
Love,
Matilde


