
You see them everywhere: knotted plant hangers. But did you know that you can also do this super easy yourself! You probably did 😉 But to start working on such a plant hanger without a tutorial…
Therefore this DIY Macramé plant hanger! Hip and also super fun to do. This DIY Macramé Plant Hanger is easy to make, but maybe not the best choice if you’re using the macramé technique for the very first time 😉 In that case, it’s best to check out our Basic Knots Macramé Blog first, practice a bit and then start working on the plant hanger 😉
You can decide which yarn you use (thick or thin also determines the final size of the plant pendant. Make sure you choose a yarn that is a bit stiff, so the plant hanger won’t hang out too much.
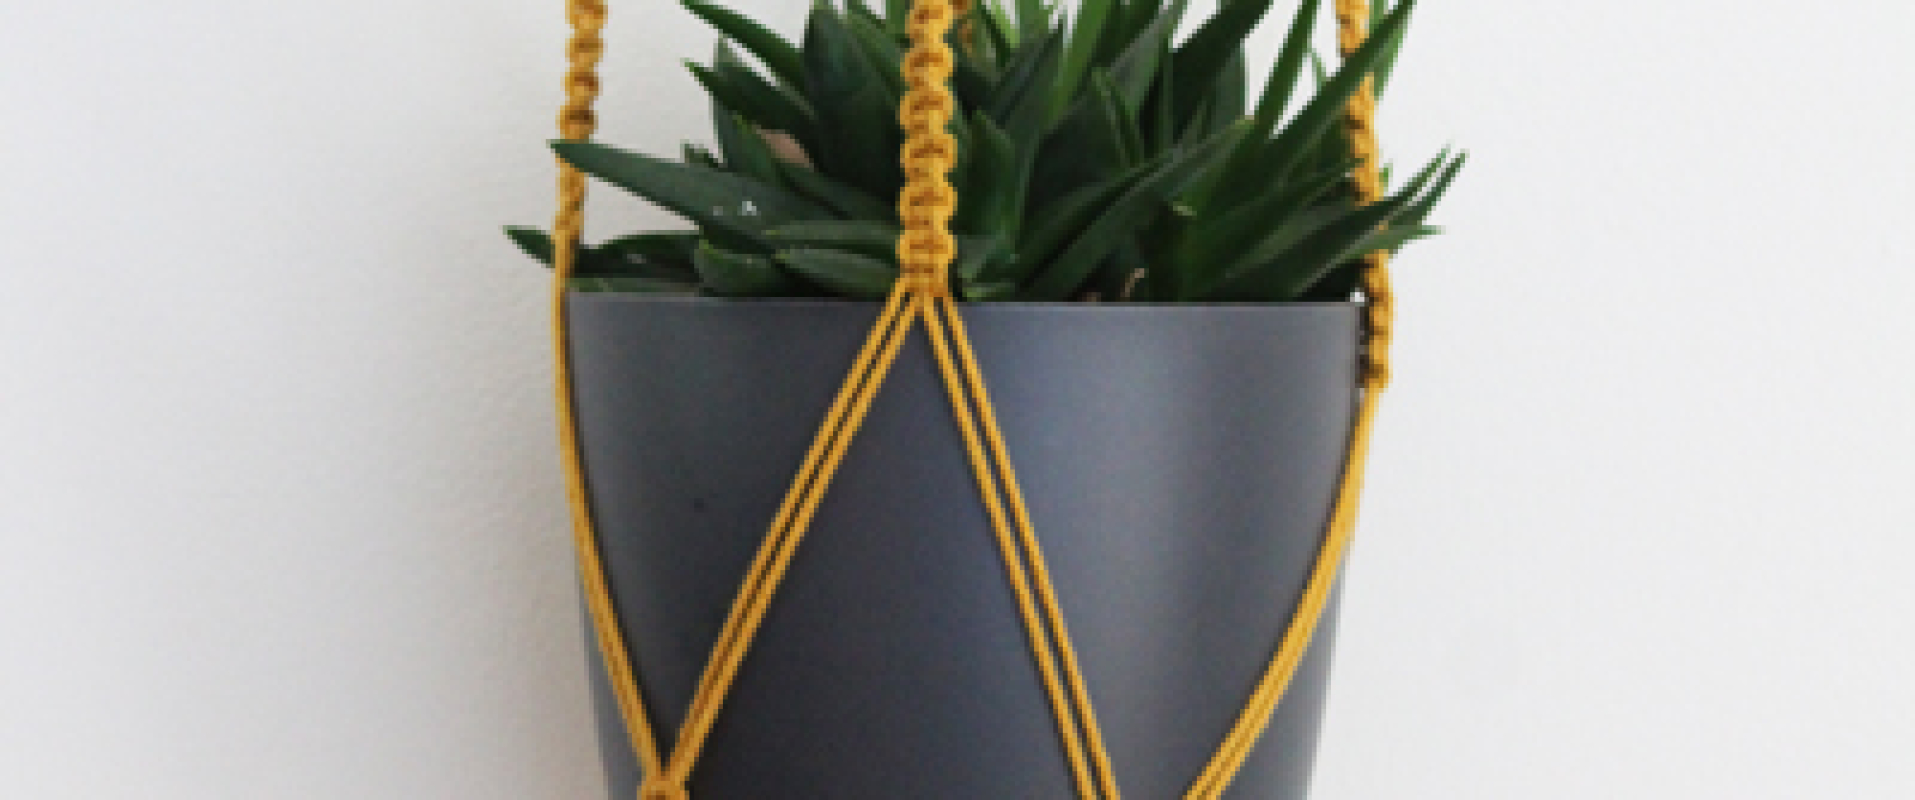
DIY Macramé Plant Hanger Making, Hip & Super Fun to Do!

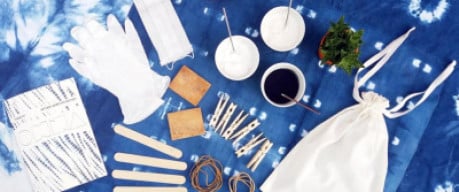
Supplies:
– Macramé yarn (I used Durable Macramé Curry. For similar yarn click here)
– A pair of scissors
– Tape
– A hook or nail on the wall or a door handle 😉
DIY Macramé Plant Hanger Step by Step Description
To begin, cut 8 times a length of 5.4 meters, 1 time a length of 2 meters and 1 time a length of 1 meter.

Take the cords of 5.4 meters together, fold them in half to create a loop. Tape in place (the loop should be about 7 cm).

Take the 2 meter cord and tie a lark’s head knot with it in the middle at the top of the loop.

Then you tie the loop with the “Vertical Lark’s Head Knot”. You can see it explained in the picture, but here you can also find a link with a description of that particular knot.

You do this way of knotting on both sides. Until the loop is completely finished.

In the end, the loop looks like this. Take off the tape and tie the loop together with the so-called “Gathering Knot”. Because it is very difficult to photograph, here is a link with an explanation of the gathering knot.

This is then the result. Cut all the short strands and tuck them away in the gathering knot. Divide the 16 threads into groups of 4 and use them to make 4 strands with the spiral knot until it is 25 cm long (after that it is just cord again 😉 ). The larks head knot, the spiral knot and the square knot you will use next, are explained step by step in the Basic Knots Macramé Blog.

Now leave 15 cm free (so no knots) and after that 15 cm make a normal knot in each strand of 4 cords.

This is what it looks like 😉 .
Under the knot start with the square knot, make another 25 cm of square knots from this.

This is the result. Now leave another 10 cm free and knot the adjacent cords with 2 square knots each time.

Again, that’s really hard to see in the picture ;). However, when you hang the strands side by side, you can clearly see what to do (you use 2 strands from one strand, and 2 strands from the adjacent strand where you use the outer two to make the knot with).

Then you tie all the cords together with a large knot and then your plant pendant is ready.


In addition to this fun DIY Macramé Plant Pendant, our previously posted Macramé Blogs are also super to do in the summer:

And of course, there are super many variations you can think of on the plant pendant 😉 The 4 strand plant pendant as seen in these blogs is the most common, but this variation that looks more like macrame wall object, is also super cool!
With the macramé technique you can do anything, so check out this nice link 😉 😉 With the macramé technique you can do anything.
– Decorate your patio with a Macramé flag line

Check out many more creative macramé patterns here.
We are big fans of macramé & hopefully you are too! The plant pendant is of course one of the most famous projects you can find in the macramé world and therefore our blog couldn’t stay behind ;). As a variation you can also use sisal rope or jute next to the special macramé yarn, this gives a very natural look to your macramé projects. This kind of rope you can often buy at Action for a bargain :). You can also vary with a different thickness of yarn. That way you get a bigger plant hanger (with thicker yarn) or a smaller one (with thinner yarn).
I am very curious to your results and experiences with this DIY Macramé Plant Hanger. So send us pictures, ideas, comments or suggestions for your macramé blog wish via email or share them with us on instagram with #beadsandbasics.
Lots of making fun!!!
Love,
Matilde


Ashley
op 14 Jul 2021